How to set up your Mac to develop Flutter apps
I hope you are excited to start your Flutter app development journey! I believe that macOS is the best platform to develop a Flutter app, as you can cover multi-platform development all in one machine.
In this article, I will share my own Mac setup and show you how to set up your Mac to start developing Flutter apps.
Requirements
To make your development life easy, here are the apps that you need:
- Xcode
- Git
- Android Studio
- Visual Studio Code
- iTerm2
- Flutter
Make sure that all these apps are installed on your machine before you start installing Flutter.
Installing Xcode
It is important to install Xcode as it contains libraries to run your Flutter code on your physical iOS or a simulator. It also contains SDK licenses with terms and conditions that you need to agree with.
The best way to install Xcode is through the App Store.
Once installed, install the command lines tools included by running this command in the terminal.
xcode-select --installInstalling Git
Git is supposed to be installed already after downloading Xcode. If it is not head over to git-scm to download the latest version of git for your Mac.
Installing Android Studio

Android Studio is necessary to help you download Android development SDKs and tools for running your Flutter app in emulators. Check out the latest Android Studio here on Google's website.
It is possible to run Flutter apps without Android Studio and just install the necessary command line tools, but it is much easier to just download the whole suite and not worry too much about the specific tools to find.
Installing Visual Studio Code
I think The best IDE for writing Flutter code in Visual Studio Code. It currently has tons of plugins, templates, and useful shortcuts to make your Flutter journey more enjoyable and streamlined.
Don't forget to make it a habit of using [[The top 8 Visual Studio Code shortcuts you need to know as a Flutter developer| keyboard shortcuts in Visual Studio Code]] as it will greatly speed up your workflow.
Installing iTerm2
I highly suggest you download iTerm2 and use it over the default Terminal.app. Our workflow involves more automation and scripting over UI in our domain, so we might as well get the best tool for it.
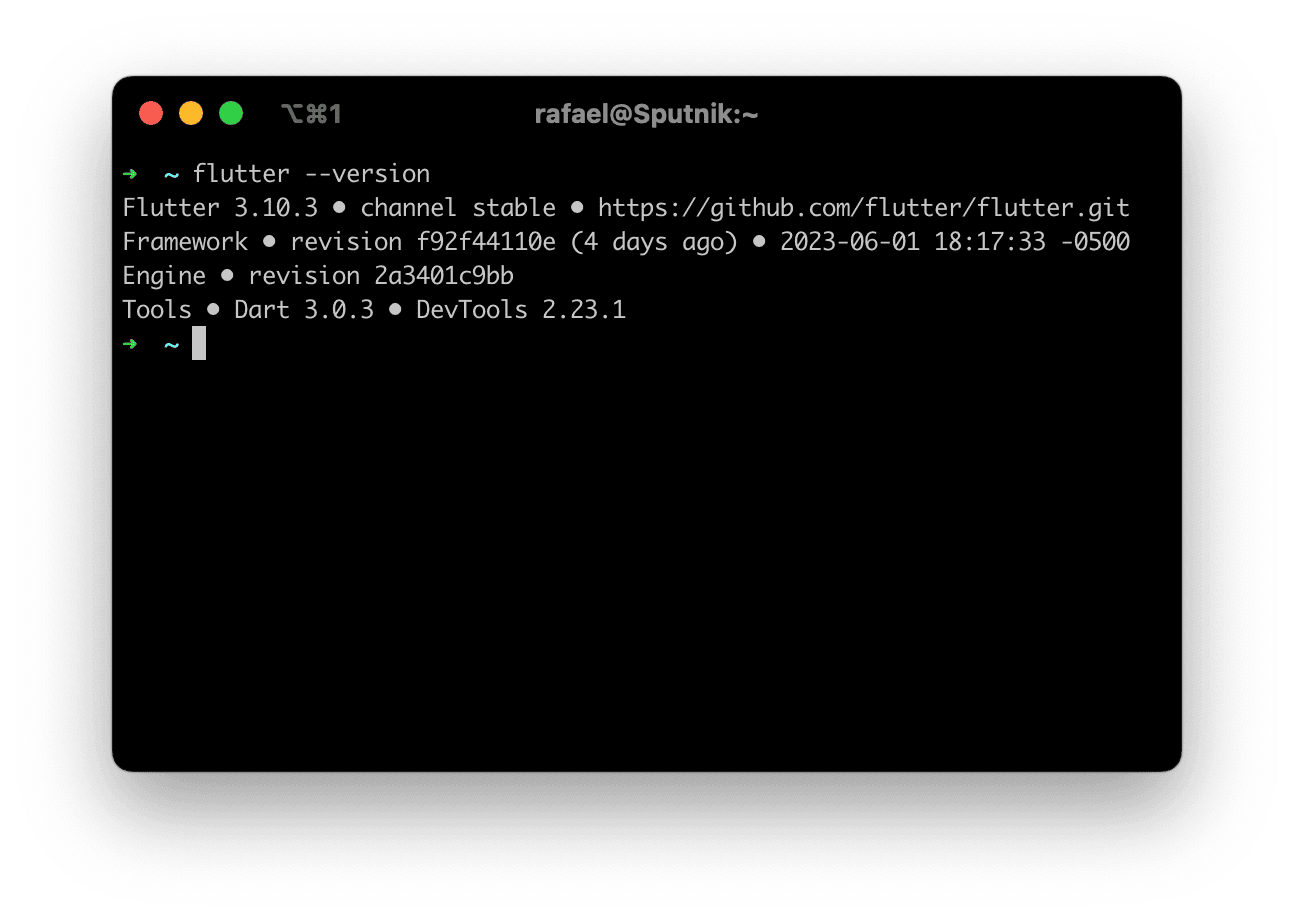
Once iTerm2 is installed, I highly encourage you to download oh-my-zsh to make your terminal more beautiful and rich with autocomplete tools.
Installing Flutter

Once you have installed all the recommended apps, it is time to install the latest version of Flutter.
After downloading and extracting the SDK in your chosen directory, make sure to add the Flutter executable in your shell path so you can run Flutter in your terminal.
Assuming you are using zsh, open up your .zshrc and add the following line:
export PATH="$PATH:[PATH_WHERE_YOU_EXTRACTED_THE_FLUTTER_ZIP]/bin"Verifying Flutter installation
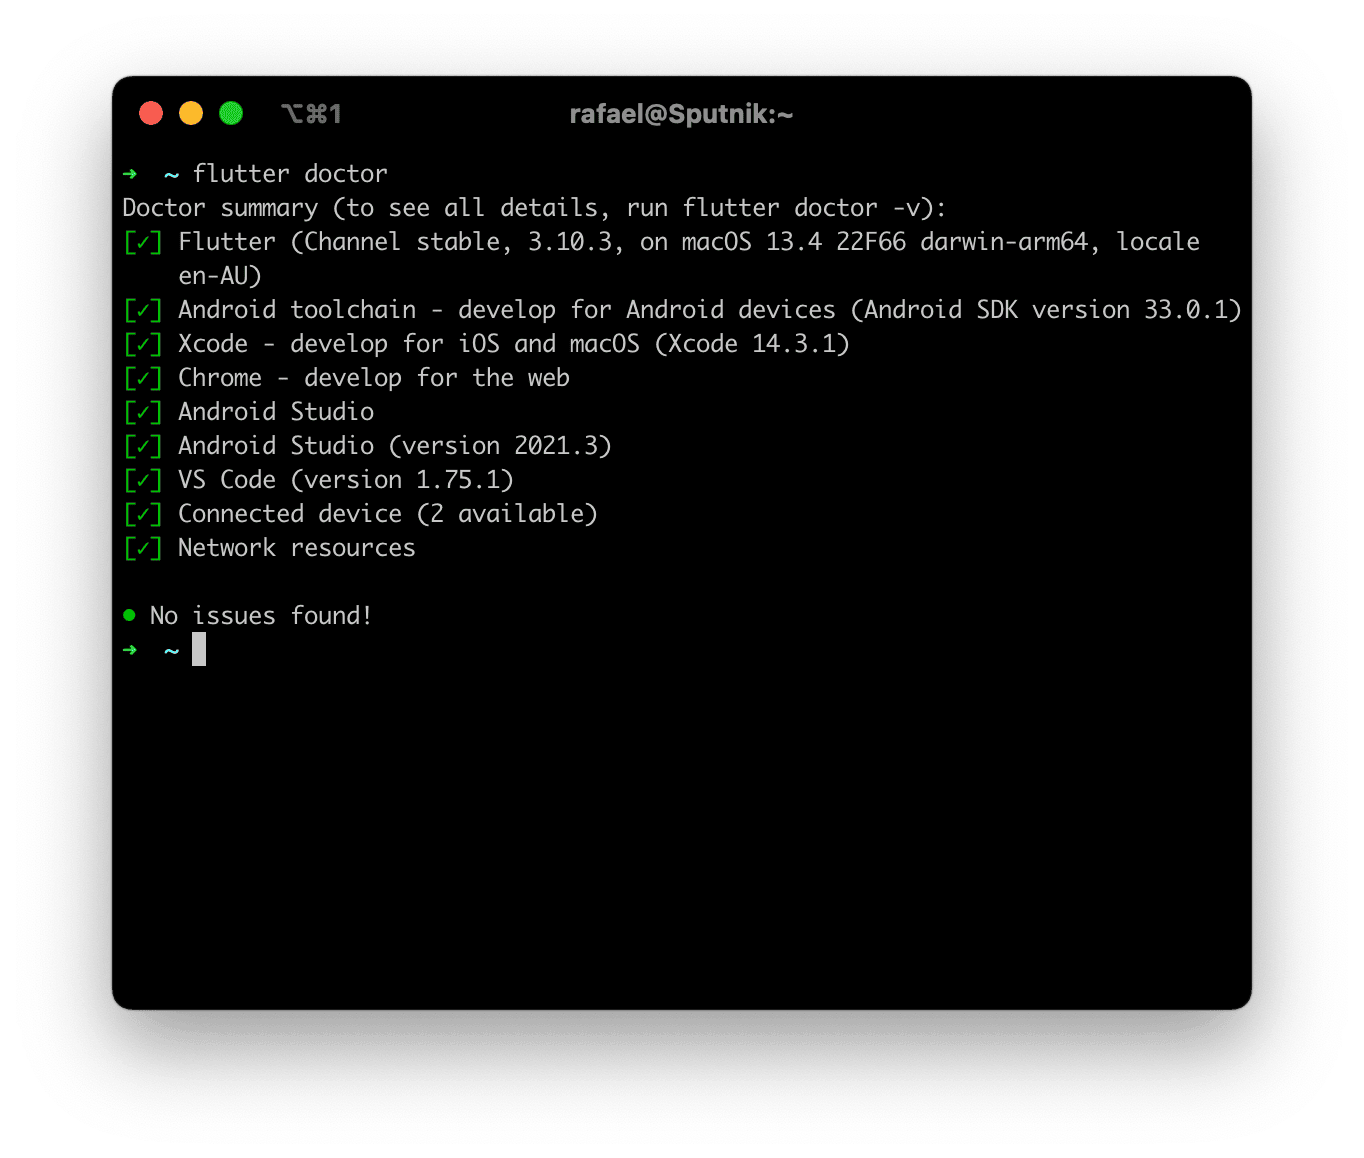
The final step is to make sure that everything works. To test if Flutter is working, run the Flutter doctor command:
flutter doctorNormally, this would show up with a few warnings about licenses not being accepted yet, but that's okay! Since we have installed Xcode and Android Studio, we can run the following commands to accept these licenses.
For Xcode licenses, run:
sudo xcodebuild -license acceptAnd for Android Studio, run:
flutter doctor --android-licensesHopefully, once you run flutter doctor again, you will see that everything else has been successfully green-ticked!