Rows in Flutter - Arrange Flutter widgets horizontally
There are a few basic Flutter layout widgets that you will always use in all your projects, one of which is the Row widget. The Row widget allows you to arrange the layout of your components horizontally.
For vertical arrangements, see the Column layout widget.
Using a Row
The main parameter when using a Row widget is the children property which accepts a list of child widgets to arrange horizontally.
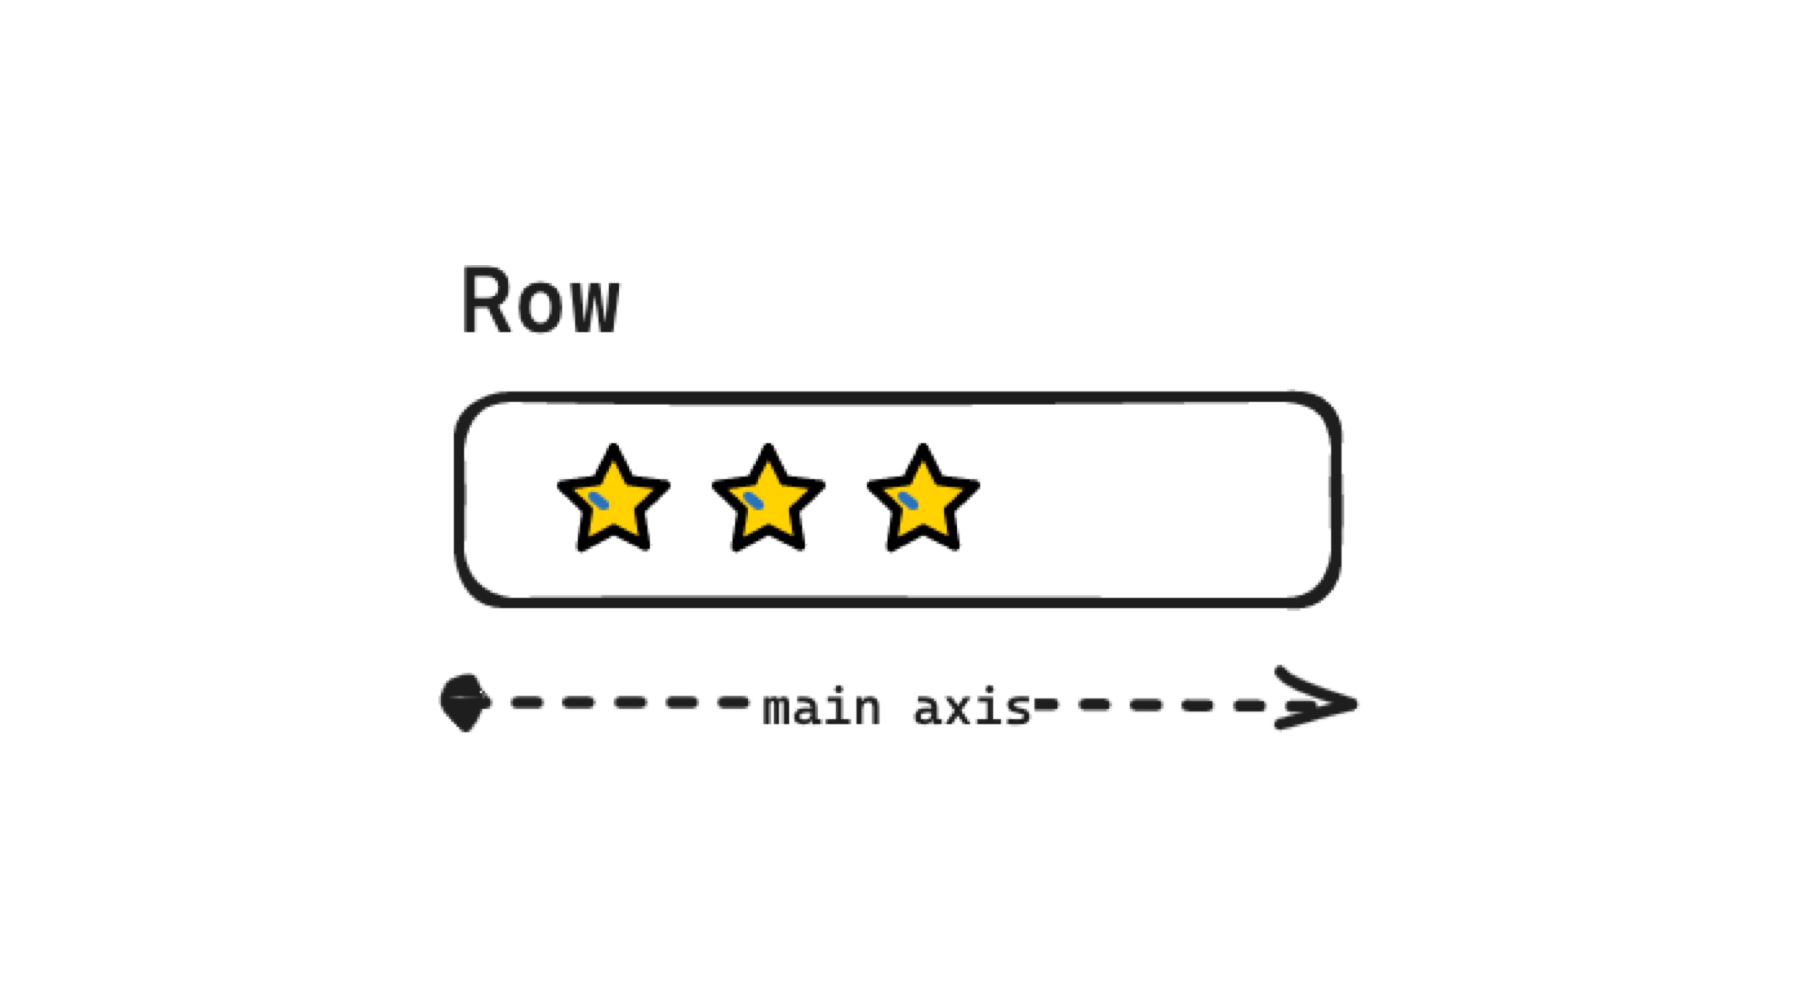
Row example
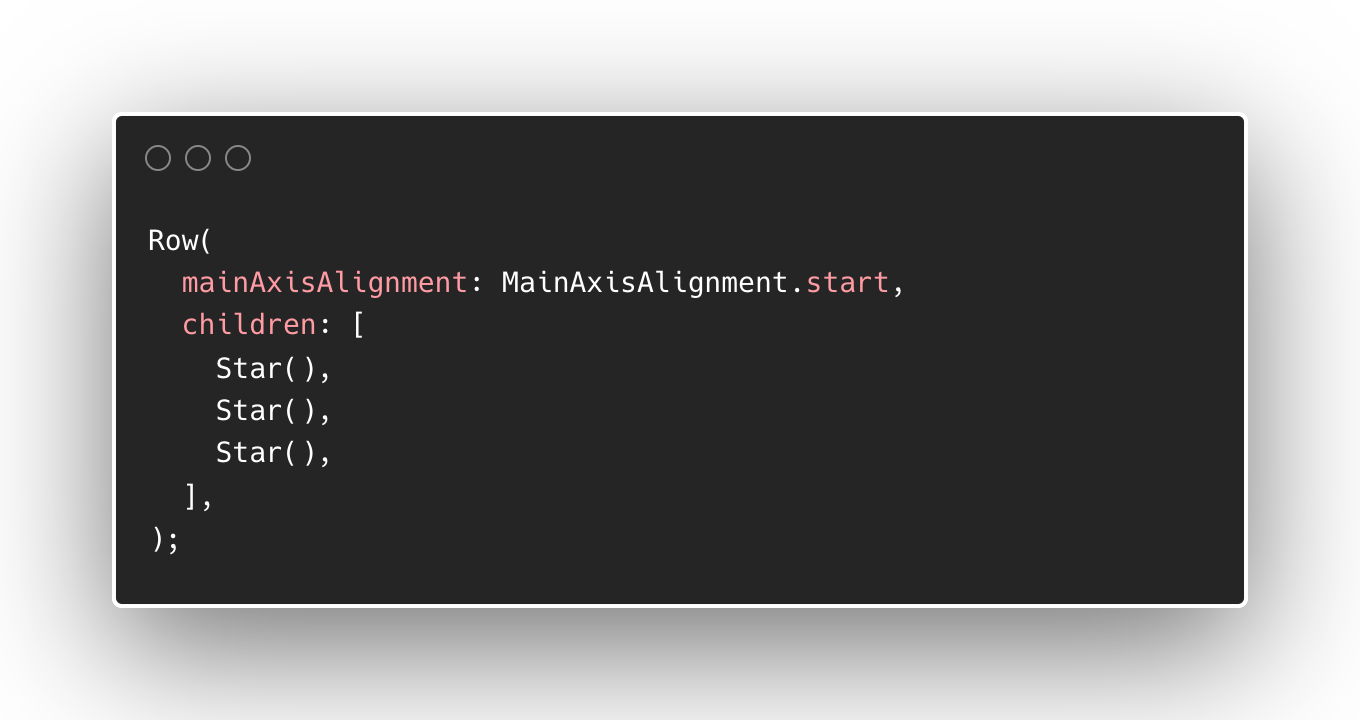
Example of Row code in Flutter
Row properties
Aside from the required children parameter, it is important to know the other properties to use the Row widget effectively.
Axis Alignment
The mainAxisAlignment handles how the child widgets are arranged along the horizontal space. The types of mainAxisAlignment that can be used include start, end, center, spaceAround, spaceEvenly and spaceBetween.
On the other hand, the crossAxisAlignment arranges the child widget along the vertical space. Values of this alignment include start, end, center, stretch, and baseline.
Horizontal Size
When using the Row widget, the horizontal size stretches according to its child widgets and as allowed by its parent widget. You can override this behaviour by setting the mainAxisSize to MainAxisSize.min.
Direction
Child widgets in a Row are laid out from left to right by default. To change this behaviour, you can override the horizontalDirection property.
When to use Rows
Use Rows when you want to arrange static widgets horizontally. For example, we could use a Row to horizontally arrange the logo, the description part which is a Column layout, and the options button in a job advertisement widget.

Job ad using Row
Issues with Rows
Because a Row is not a scrollable widget, one common issue developers encounter is that when a Row's child widgets increased in size much more than it is allowed to, the app would show an overflow error.

Size of the blue box extending outside the Row
Solution 1: Use Expanded or Flexible
A solution for this issue is to use an Expanded or Flexible layout widget to wrap the big child widgets inside a Row. This makes the child widgets ready to overflow safely when their content is dynamic.
Solution 2: Use a ScrollView
Another way to make a Row scrollable is by wrapping it with a SingleChildScrollView or any widget that lets its child widgets scroll. This is used for rare situations where you have a scrollable row with a fixed item count.
Solution 3: Use a ListView
If you are planning to make a row that is scrollable with dynamic content, check out ListView for displaying a list of similar widgets. One example that comes to mind is when one scrolls an album horizontally from the Spotify app.

Example of horizontal scrolling
Summary
Here's a short introduction to using Rows in Flutter. It is important to keep the usage of Rows to arrange cohesive widgets horizontally. Finally, keep your content adaptable to size constraints by wrapping child widgets with Flexible or Expanded.